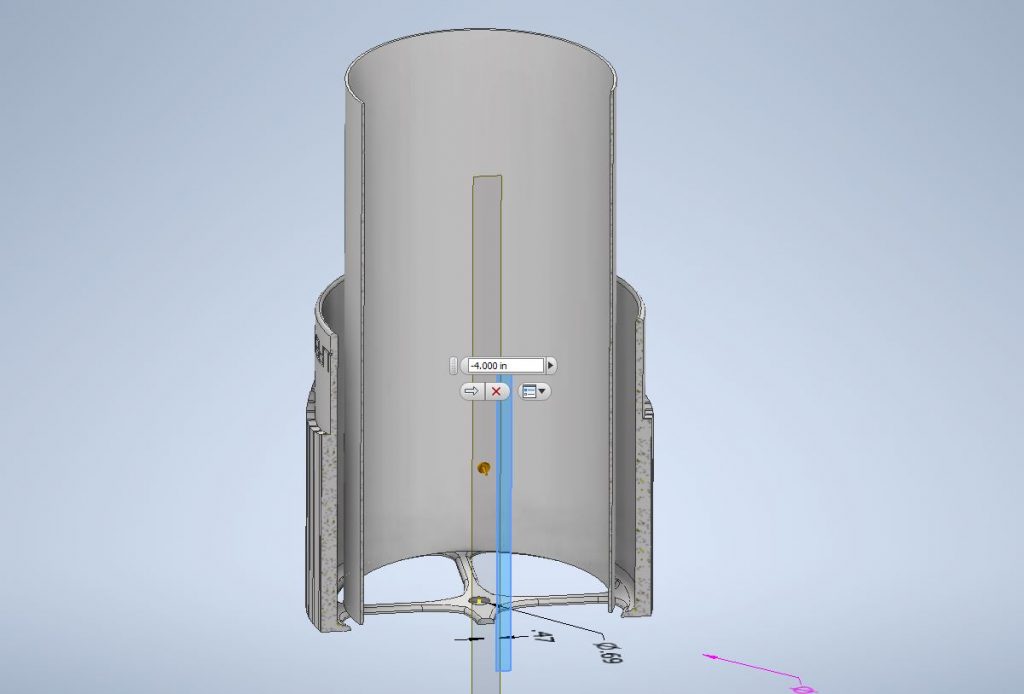
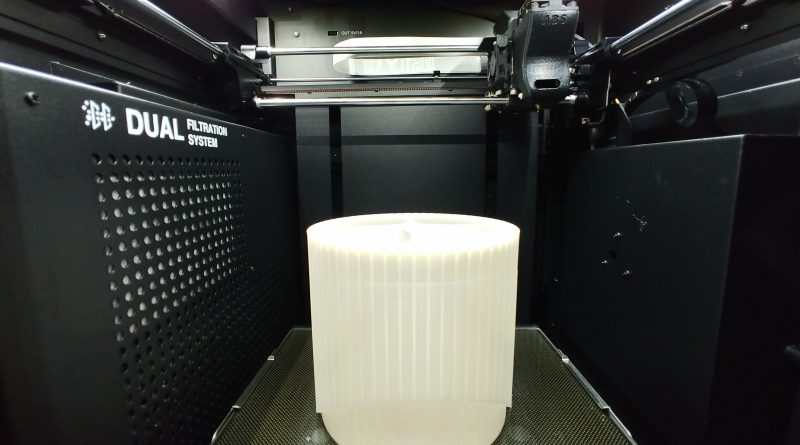
3D printing with Autodesk Inventor 2021 for prototype development
3D printing with Inventor 2021 for product development

Prepare files and post to a 3D print service.
A 3D printing device can print a rapid prototype from an Inventor part or assembly file (assembly not available in Inventor LT). The part or assembly file is saved to a format that is compatible with the 3D printer.
The Send to 3D Print Service dialog box guides you through the workflow. You set up the model in the graphics area, create the required export file, and send it to a 3D printer.
When you create the export file from your Inventor model, available options control resolution and tessellation. A dynamic preview displays the model in the tessellated condition. In the preview environment, a toolbar provides commands, including access back to the export file options. When satisfied with the results of your option settings, you save your file in the export file format and send it to an internet 3D printing service. Your Web browser opens automatically to the Autodesk web site https://www.autodesk.com/autocad3dprinting, which lists three 3D printing service providers. You choose the provider and upload your file, so they can make the physical model.
- Open an Inventor file. Before you initiate the 3D print job, set up components in the graphics area that you want to include in the required export file. Use Visibility so you can include all components visible in the graphics area, or select the components to include.Note: Voids in your model can result in unexpected results in 3D printing. To eliminate these voids, use Shrinkwrap before you initiate the 3D print operation.
- Click File
 Print
Print Send to 3D Print Service.
 - In the Send To 3D Print Service dialog box, in Export File Type, select the export file type from the drop-down menu: STL Files (*.stl).
- Click Options to view or adjust the options for the export file.
- In the Send To 3D Print Service dialog, select:
- All Visible to include all solid bodies visible in the graphics area. Use Visibility to adjust which components are visible. As long as All Visible is selected, it overrides preselections.
- Selection to only include the components you selected in the graphics window before you initiated the 3D print job. This option is only available if you have something selected before staring the 3D print job. In assemblies (not available in Inventor LT), if you choose Selected, you can select disabled and suppressed components.Selected items are included, regardless of whether they are visible in the graphics area (not available in Inventor LT).
- In Scaling, scale the model to fit within the build envelope for the selected 3D printer.
- Click Preview. The objects you specified to include in the export file display in the graphics area in a tessellated state in accordance with your settings. Rotate and zoom in on the model to inspect it.To adjust the settings, on the Print Preview toolbar, click Options.Adjust the options to create a successful 3D print. When you are satisfied with the results in the preview, click Close.Note: A tolerance setting that is too tight can result in excessive facets and depletion of memory. In this case, the operation can fail.
- Click Preview in the Send to 3D Print Service dialog box to review the results of your settings.On the 3D Print Preview toolbar, click Options to return to the export options for further adjustments. Click Close to return to the Send to 3D Print Service dialog box.
- In the Send To 3D Print Service dialog box, click OK to accept all settings and close the dialog box.The file is saved to disk and is ready to send to the 3D printing service.Your internet browser opens to www.autodesk.com/autocad3dprinting so you can choose your 3D print provider.


